

You need: an Unpod number on a Bridge, a LiveKit Cloud project, and a
LiveKit agent to answer inbound calls. The Unpod trunk carries both inbound and
outbound - no separate provider setup.
Part 1 - Get the LiveKit SIP URI
In the LiveKit Cloud dashboard, open Settings → Project (General) and copy the SIP URI - it looks likesip:<project-id>.sip.livekit.cloud. You paste this into the
Unpod trunk next so outbound calls reach LiveKit.
Part 2 - Connect the number in Unpod
1
Connect your number
In Telephony, select your number (shown as Not Linked) and click Connect
to set up its SIP trunk.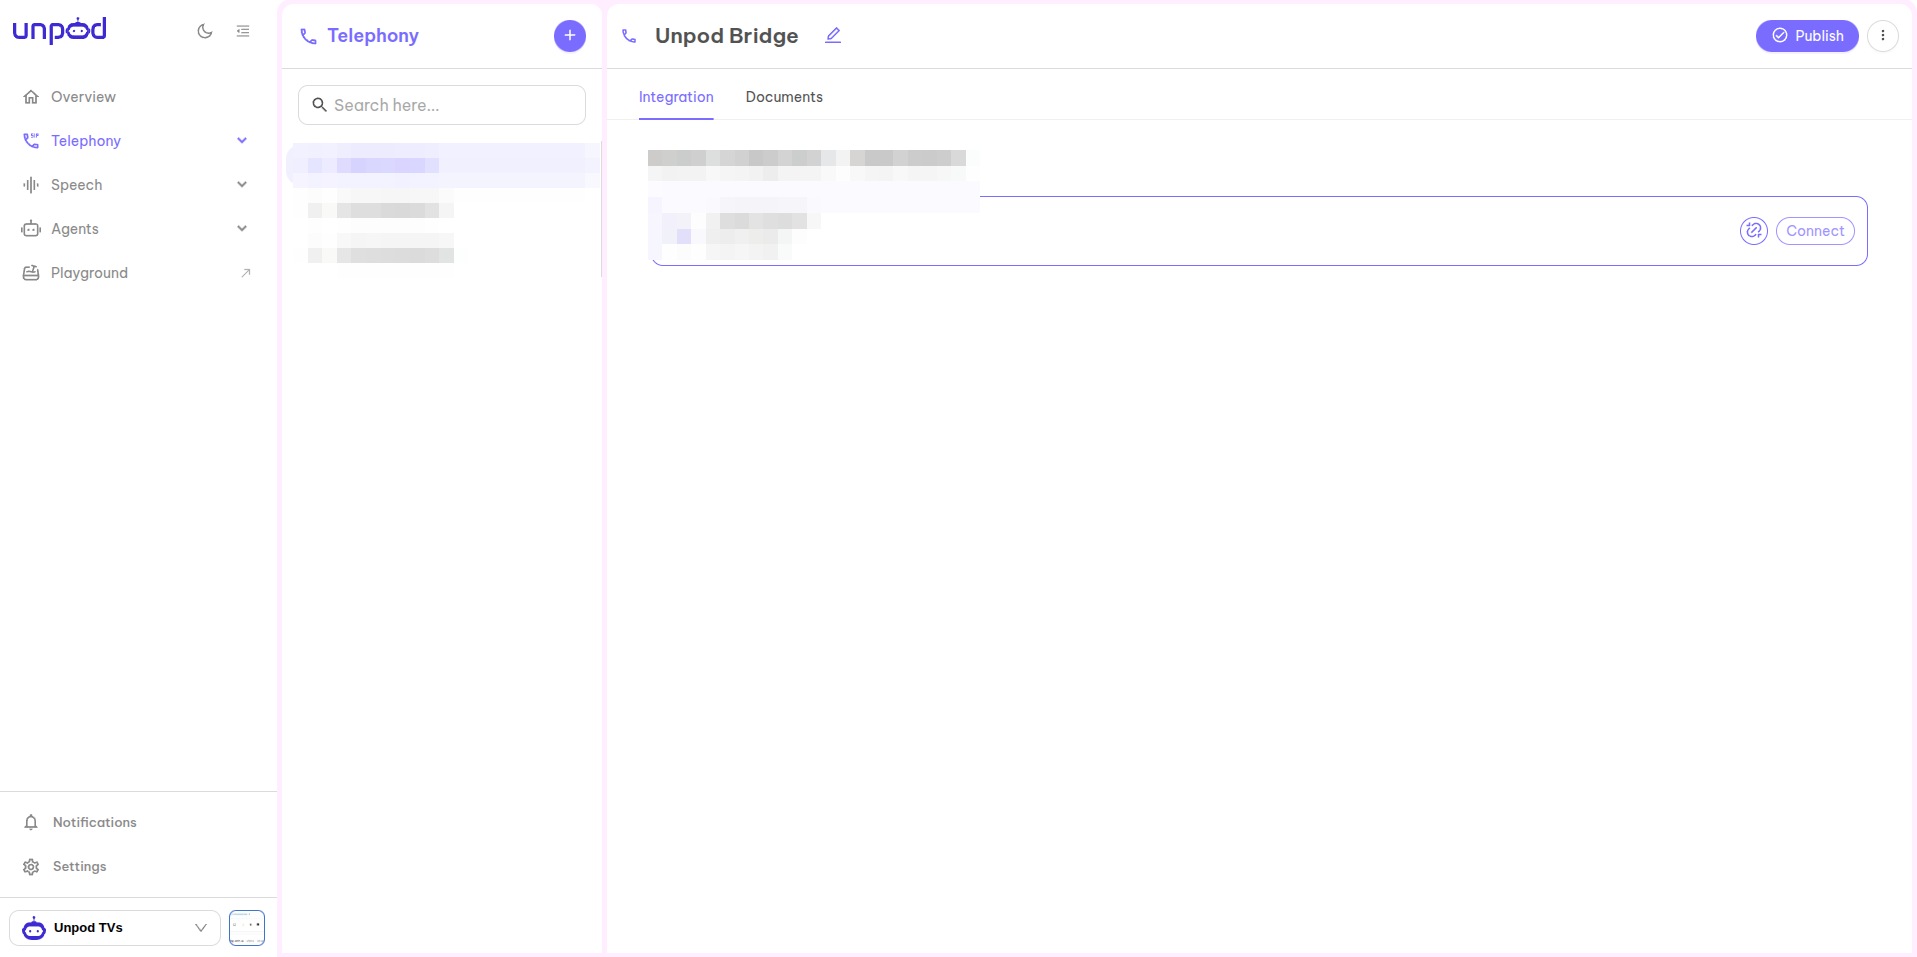
2
Point the trunk at LiveKit
In the trunk panel, set the Trunk Origin Endpoint Details: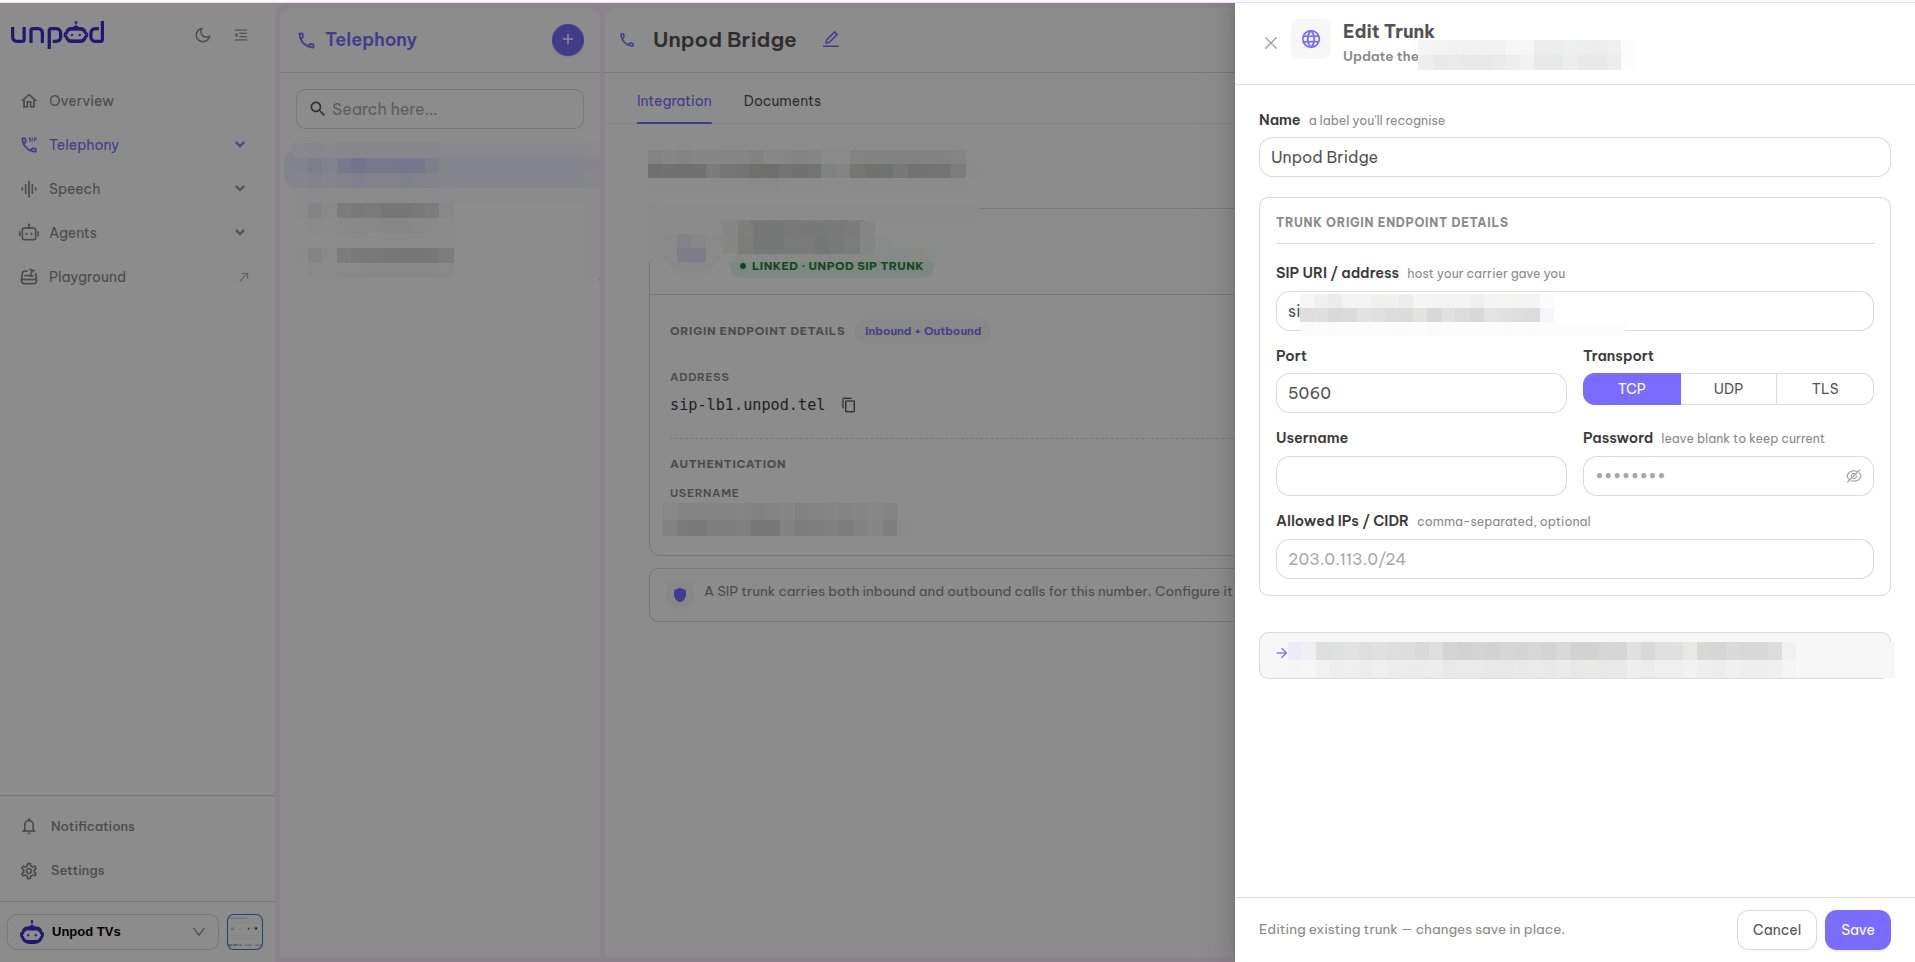
- SIP URI / address - paste the LiveKit SIP URI from Part 1
(e.g.
sip:<project-id>.sip.livekit.cloud). - Port
5060, TransportTCP(orUDP/TLSto match LiveKit). - Allowed IPs / CIDR - optional source allow-list.
3
Copy the origin-endpoint credentials
Under Origin Endpoint Details copy these - you’ll use them in LiveKit next: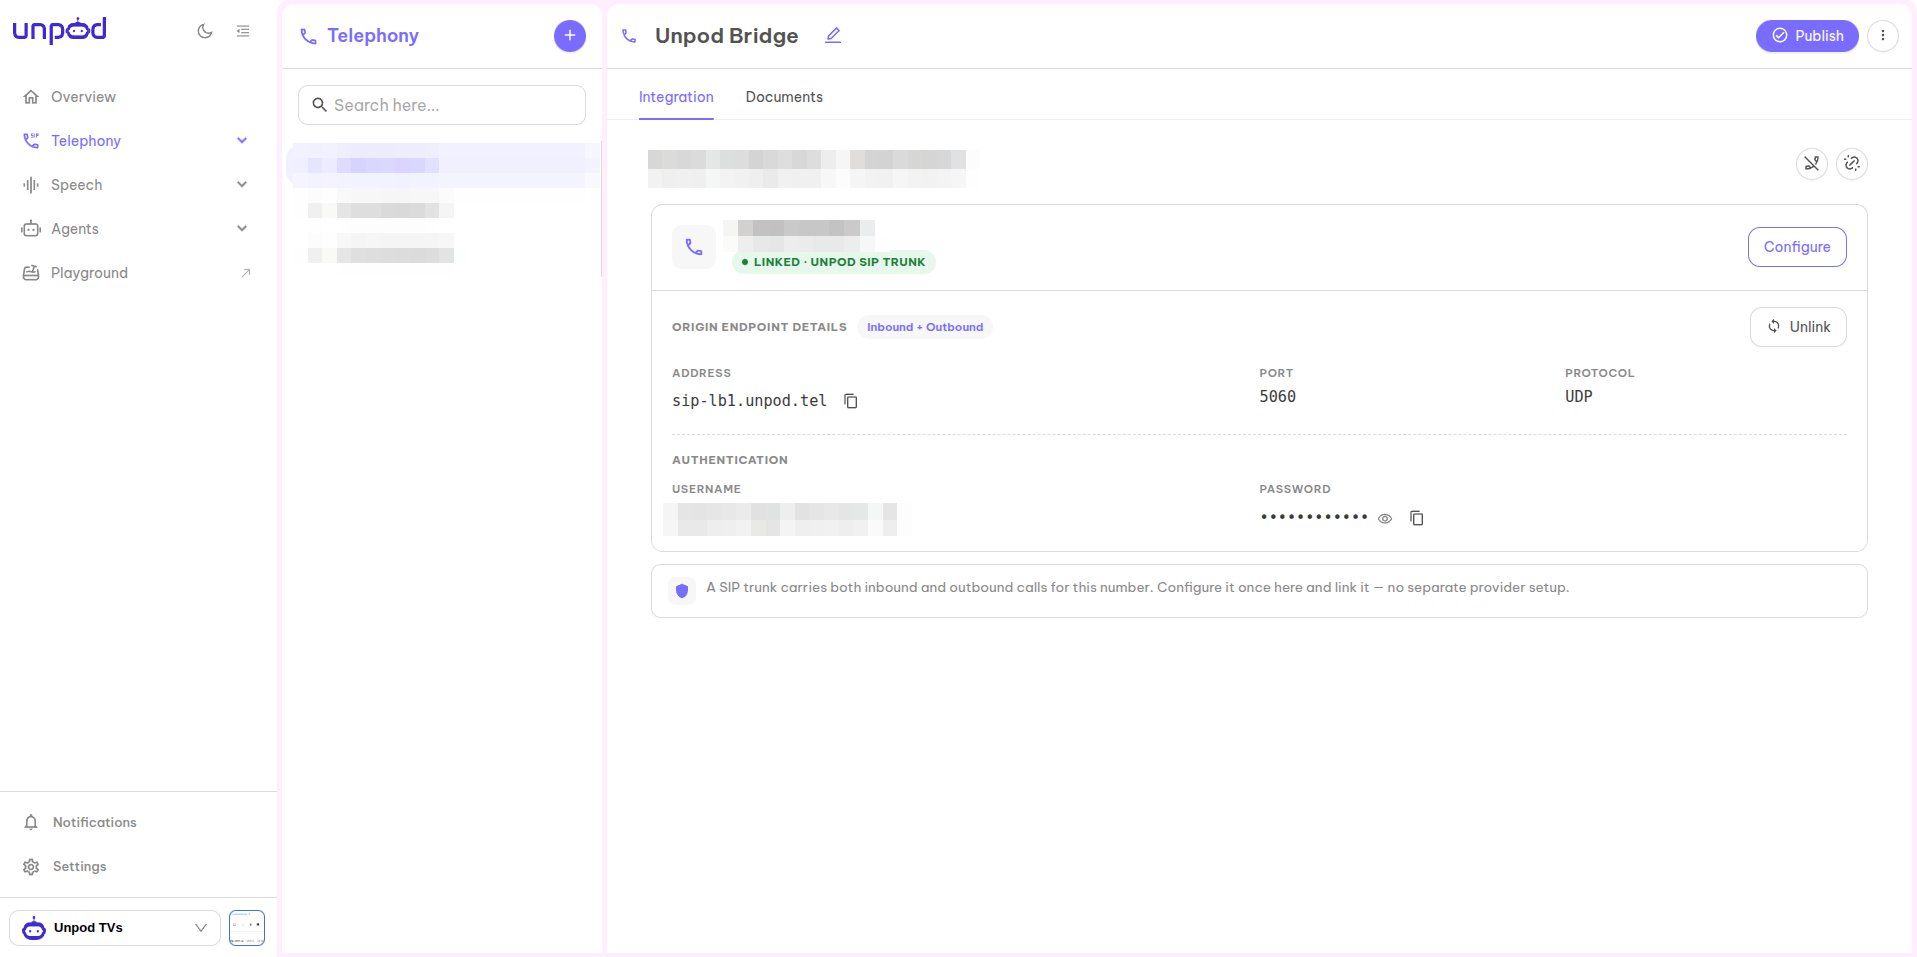
- Address - e.g.
sip-lb1.unpod.tel - Port / Protocol -
5060/UDP - Username and Password (under Authentication)
Part 3 - Create the trunks in LiveKit
In the LiveKit console, go to Telephony → SIP trunks and click Create new trunk. Fill the Trunk details form (or use the JSON editor). Create two trunks using the Unpod values from Part 2.1
Inbound trunk
Set Trunk direction to Inbound, then: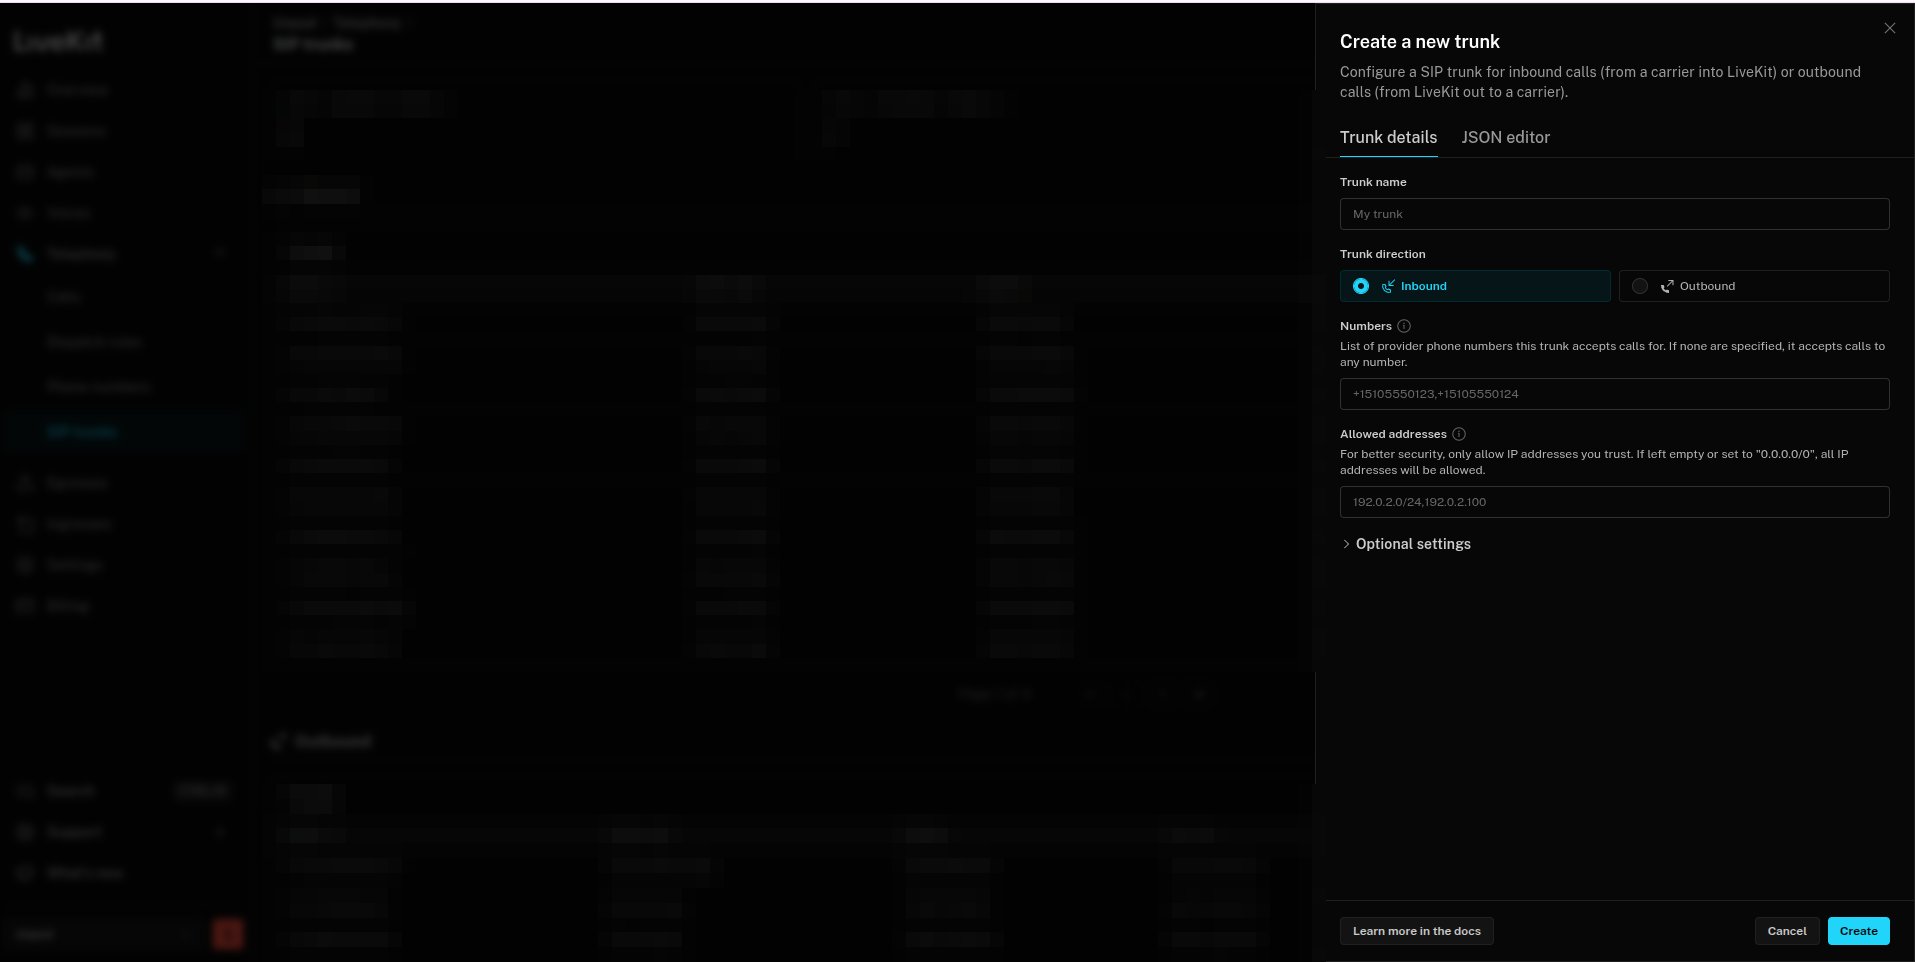
- Trunk name - a label.
- Numbers - your Unpod phone number(s) in E.164 (comma-separated). Leave empty to accept any.
- Allowed addresses - restrict to trusted IPs, or
0.0.0.0/0to allow all (while testing).
2
Outbound trunk
Set Trunk direction to Outbound, then map the Unpod values: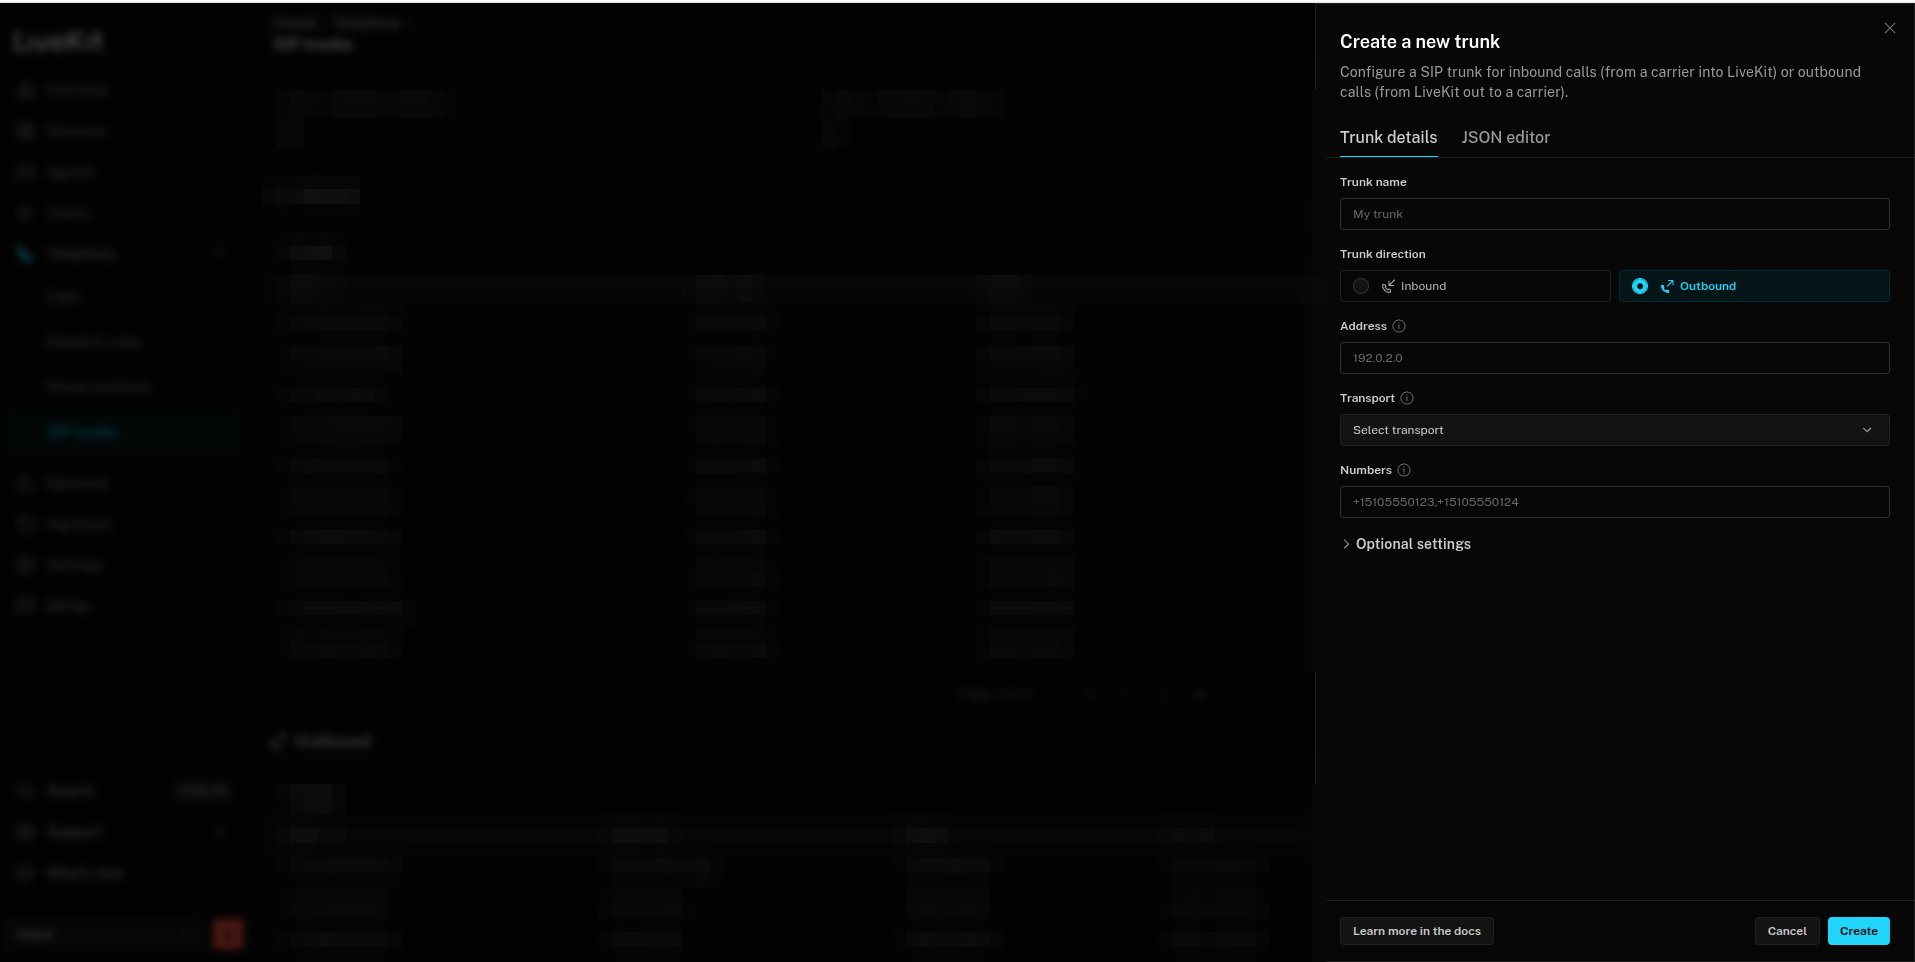
- Trunk name - a label.
- Address - Unpod Address (e.g.
sip-lb1.unpod.tel). - Transport -
TCP(match your trunk). - Numbers - your Unpod phone number(s).
Part 4 - Route inbound to your agent
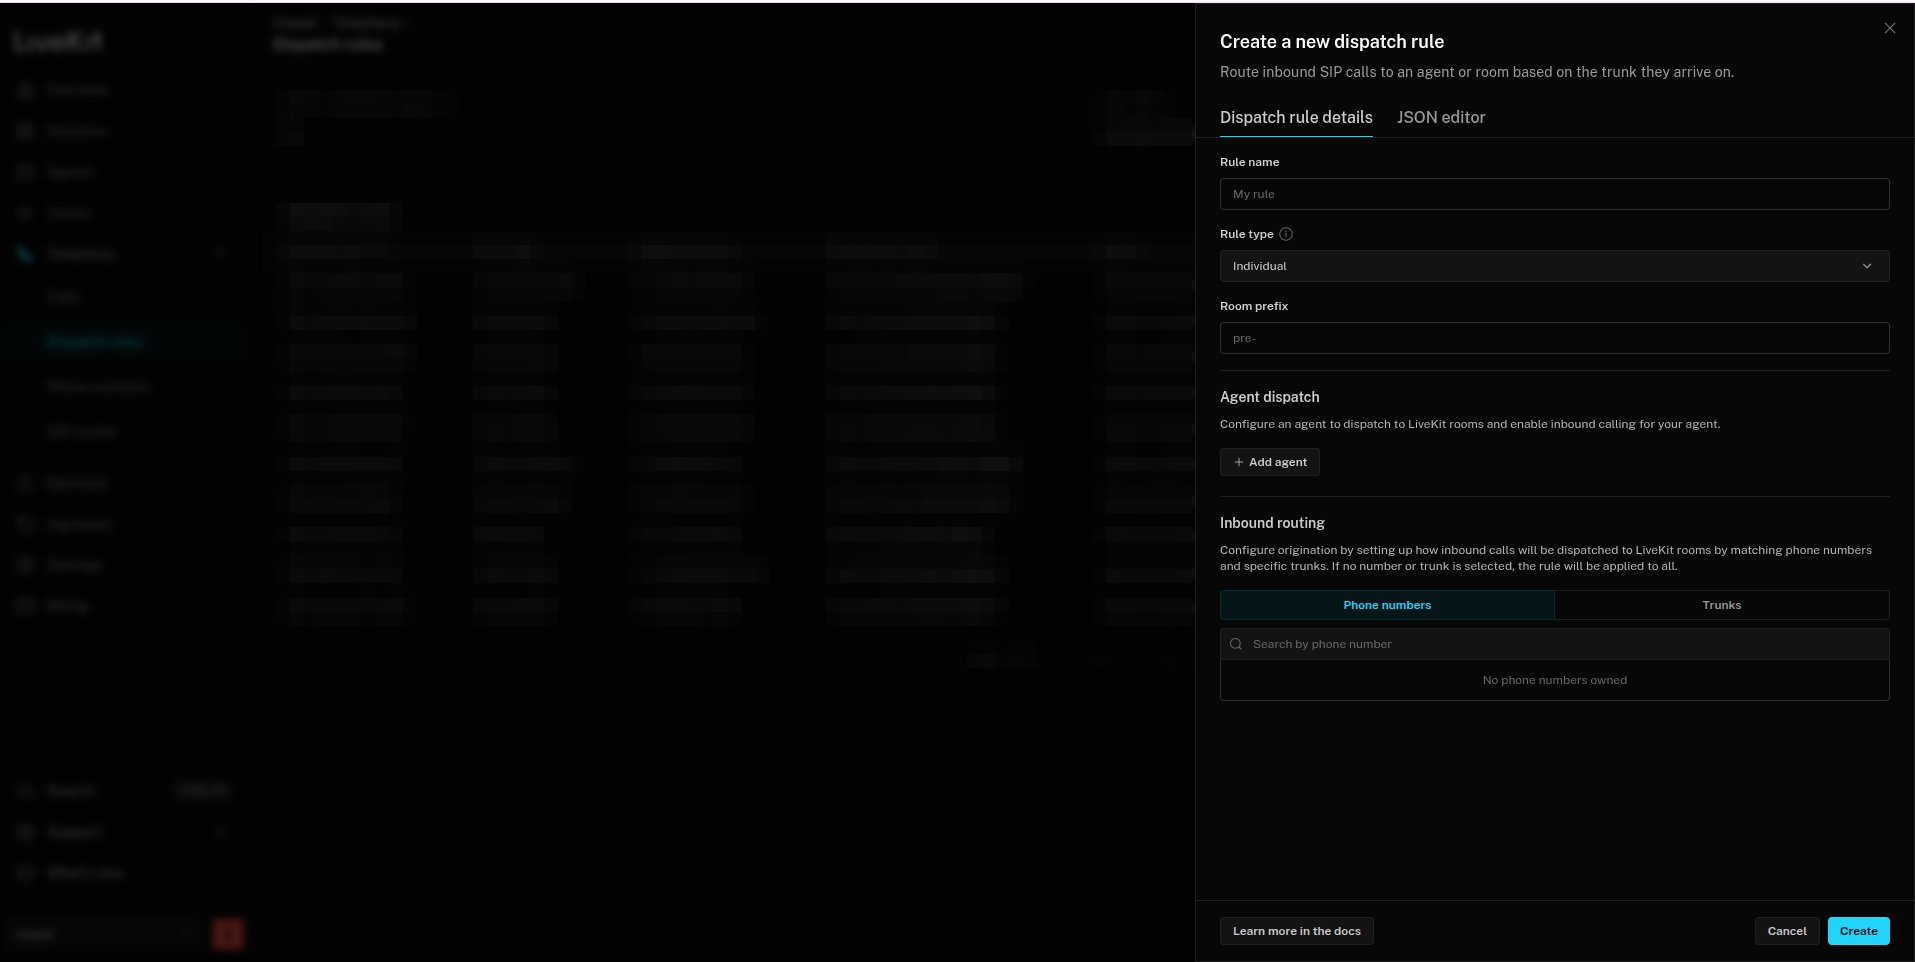
In Telephony → Dispatch rules, click Create new dispatch rule so inbound calls land in a room your agent joins:- Rule name - a label.
- Rule type - Individual.
- Room prefix - e.g.
call-. - Agent dispatch - click Add agent and enter your deployed agent name (for explicit dispatch).
- Inbound routing - match by Phone numbers or Trunks (leave unset to apply to all).
Publish
Back in the Unpod Studio, click Publish to activate the configuration. The number is then ready for inbound and outbound calls.Troubleshooting
Do it with code
Same flow over the REST API.
All platforms
Back to the integrations overview.